4.2 Create an Action - Weather
1. Open the CIC management dashboard
https://manage.auth0.com/dashboard.
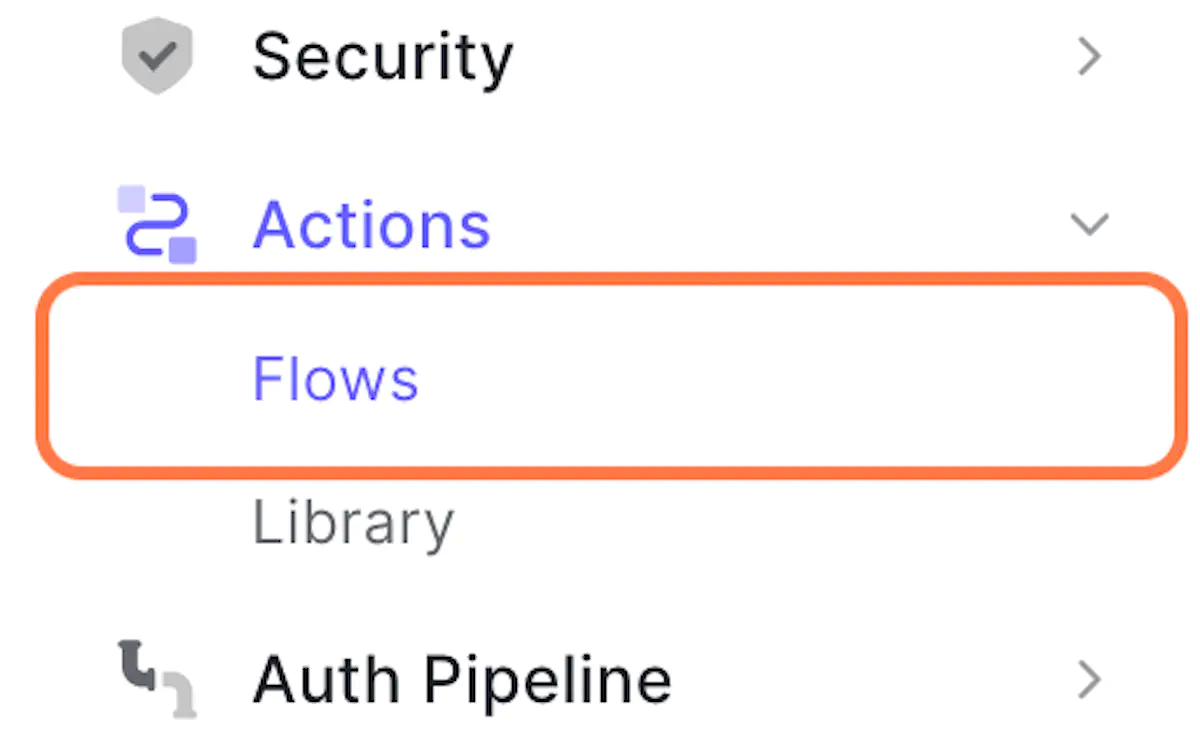
2. Click on Flows
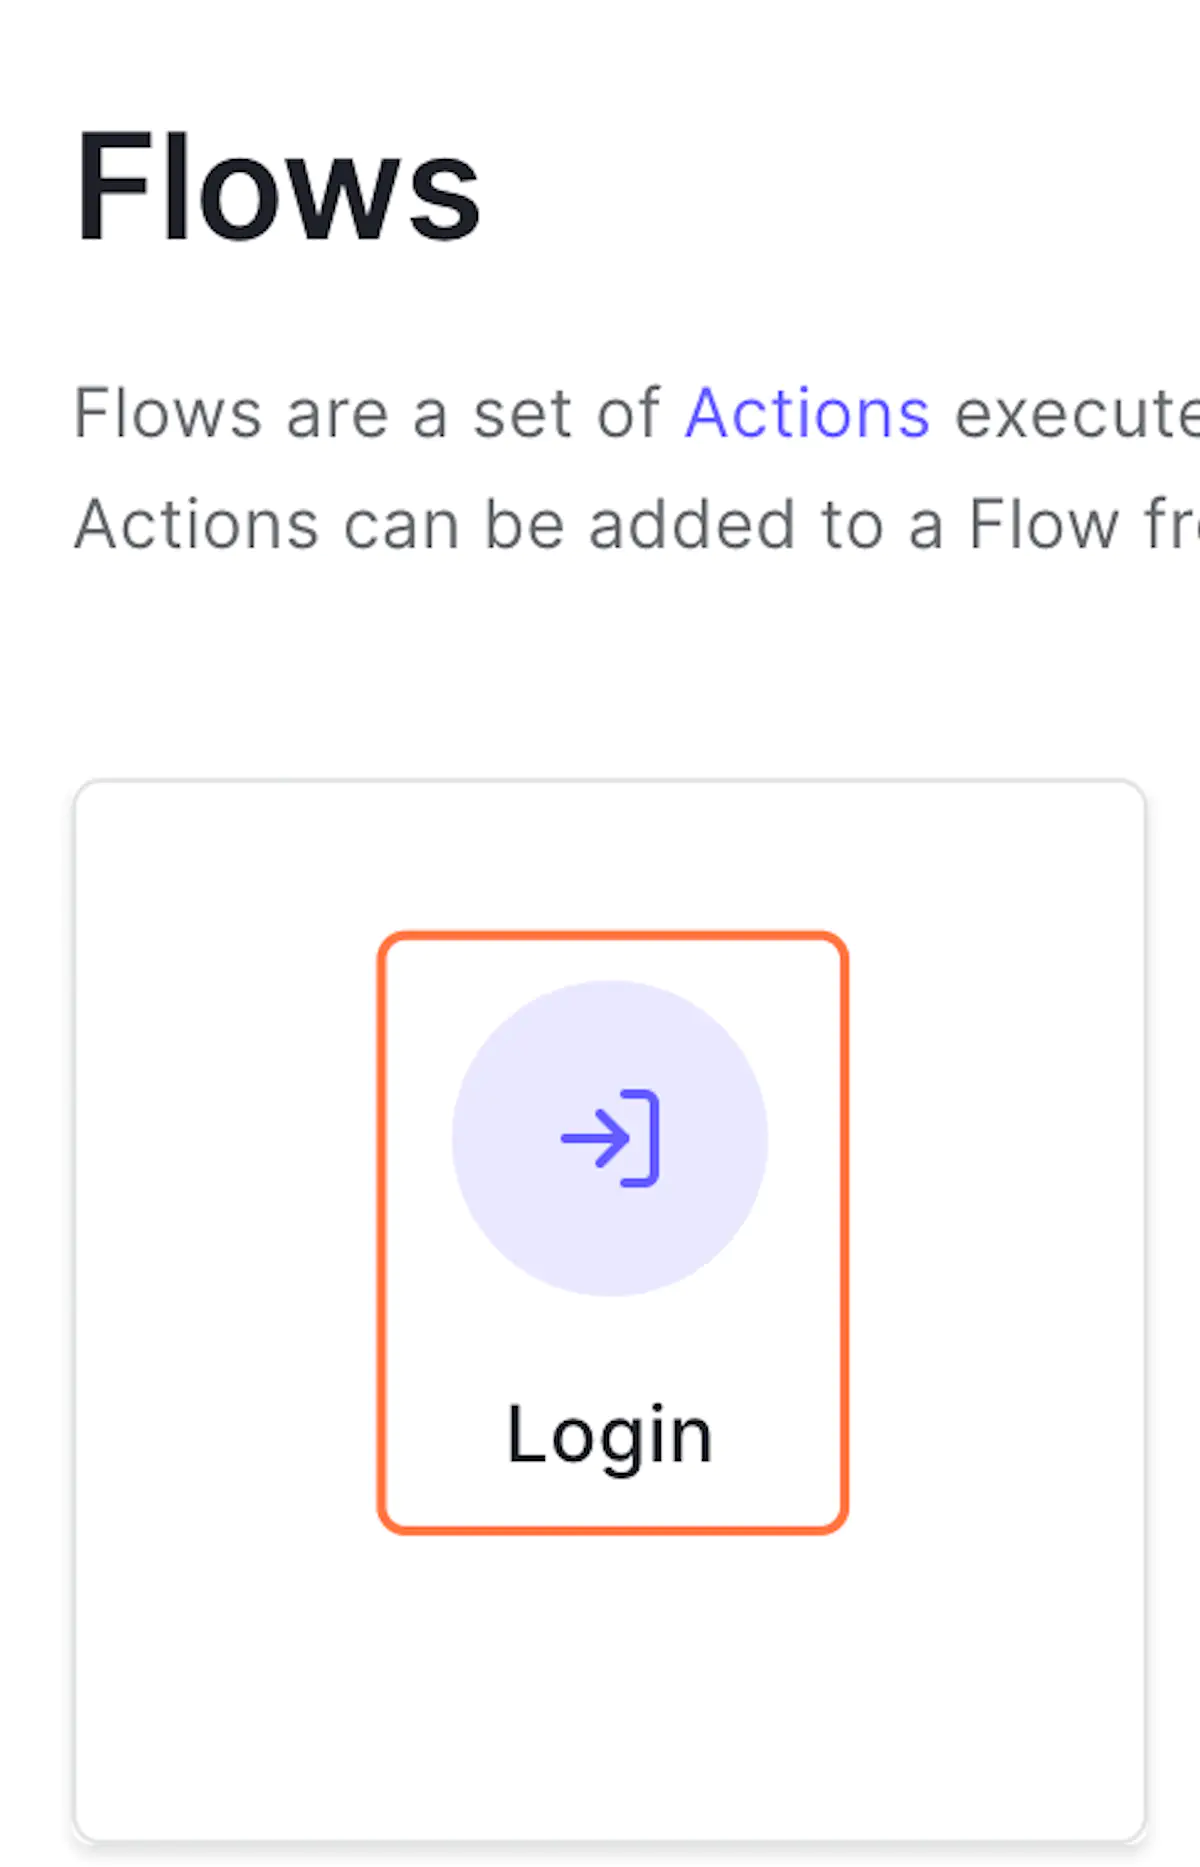
3. Click on Login
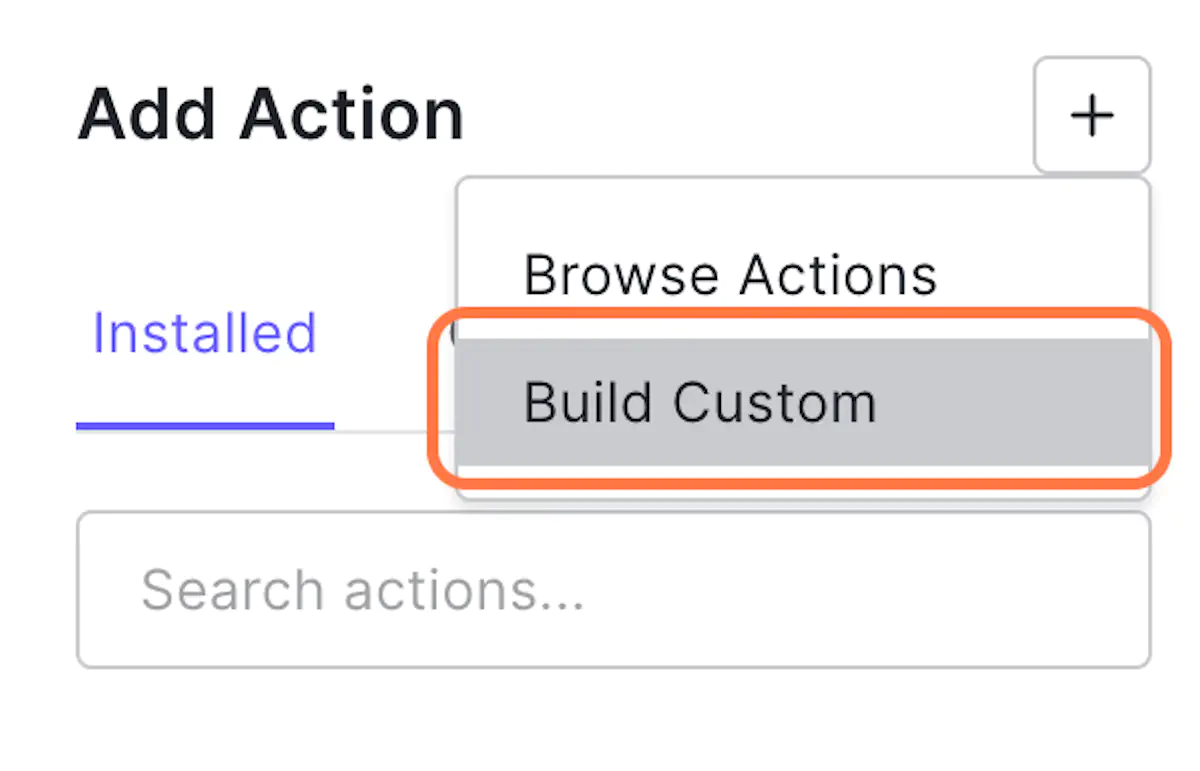
4. Click on + and then Build Custom
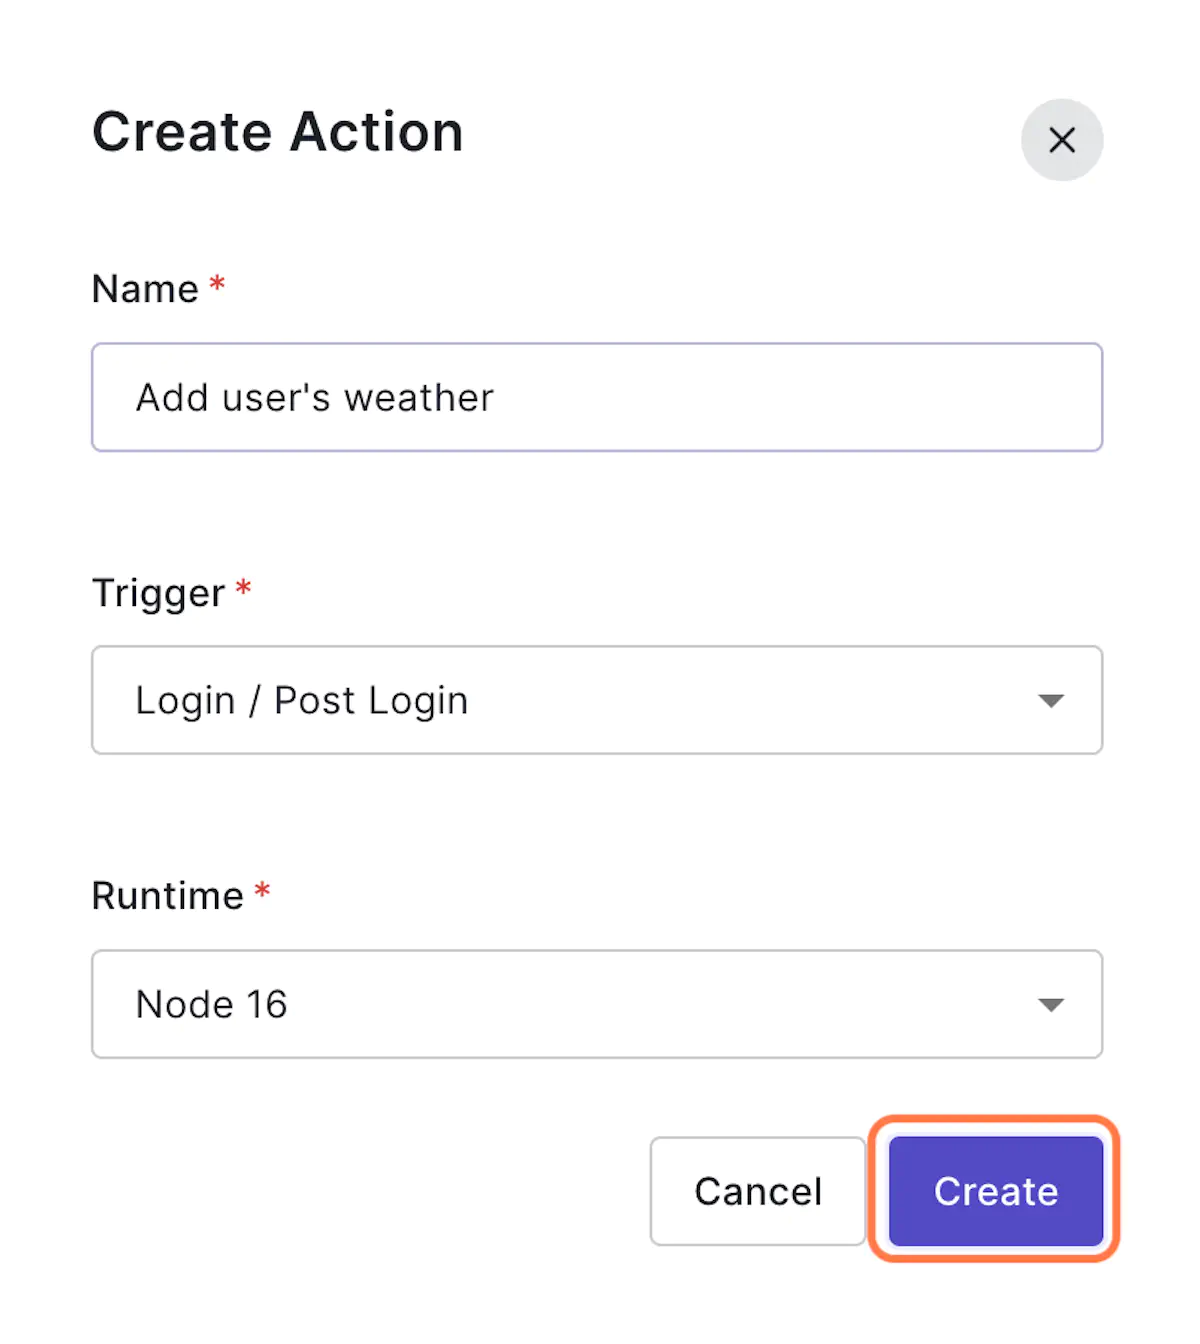
5. Create a new action
Use the name: Add user's weather.
6. Click on Dependencies
We will use external dependencies. Most of npm packages are available to use within actions. npm packagaes are prebuild Javascript packages built by other developers that you can use in your code.

7. Click on Add Dependency
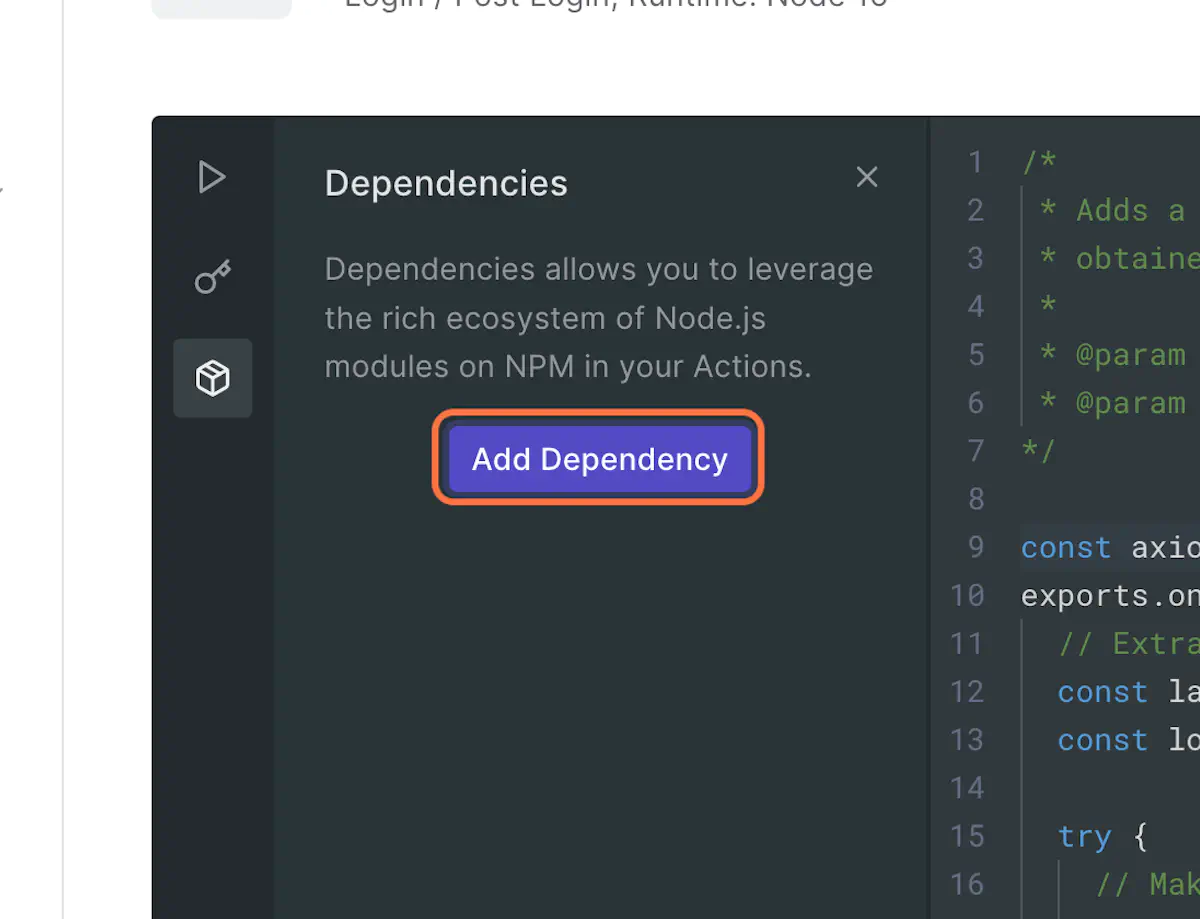
8. Type “axios”
Axios is a common javascript library for http requests.

9. Click on Create
10. Replace the source code
Use this script:
// Adds a custom claim "temperature" to the ID token with the value of the current temperature at the user's location,
// obtained from the Open-Meteo API.
//
// @param {Event} event - Details about the user and the context in which they are logging in.
// @param {PostLoginAPI} api - Interface whose methods can be used to change the behavior of the login.
const axios = require('axios');
exports.onExecutePostLogin = async (event, api) => {
// Extract the user's latitude and longitude from the event object.
const latitude = event.request.geoip.latitude;
const longitude = event.request.geoip.longitude;
try {
// Make a GET request to the Open-Meteo API with the user's latitude and longitude.
const response = await axios.get(`https://api.open-meteo.com/v1/forecast?latitude=${latitude}&longitude=${longitude}¤t_weather=true`);
// If the API call is successful, extract the current temperature and add it as a custom claim to the ID token.
const temperature = response.data.current_weather.temperature;
api.idToken.setCustomClaim('temperature', temperature);
} catch (error) {
// If the API call fails, set the custom claim "temperature" to "NaN".
api.idToken.setCustomClaim('temperature', 'NaN');
}
};
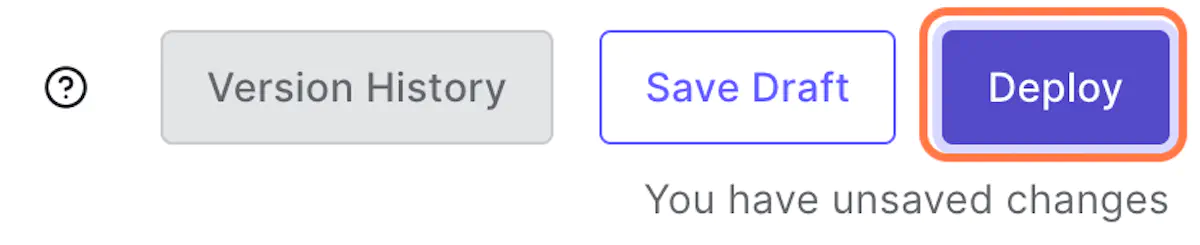
11. Click on Deploy
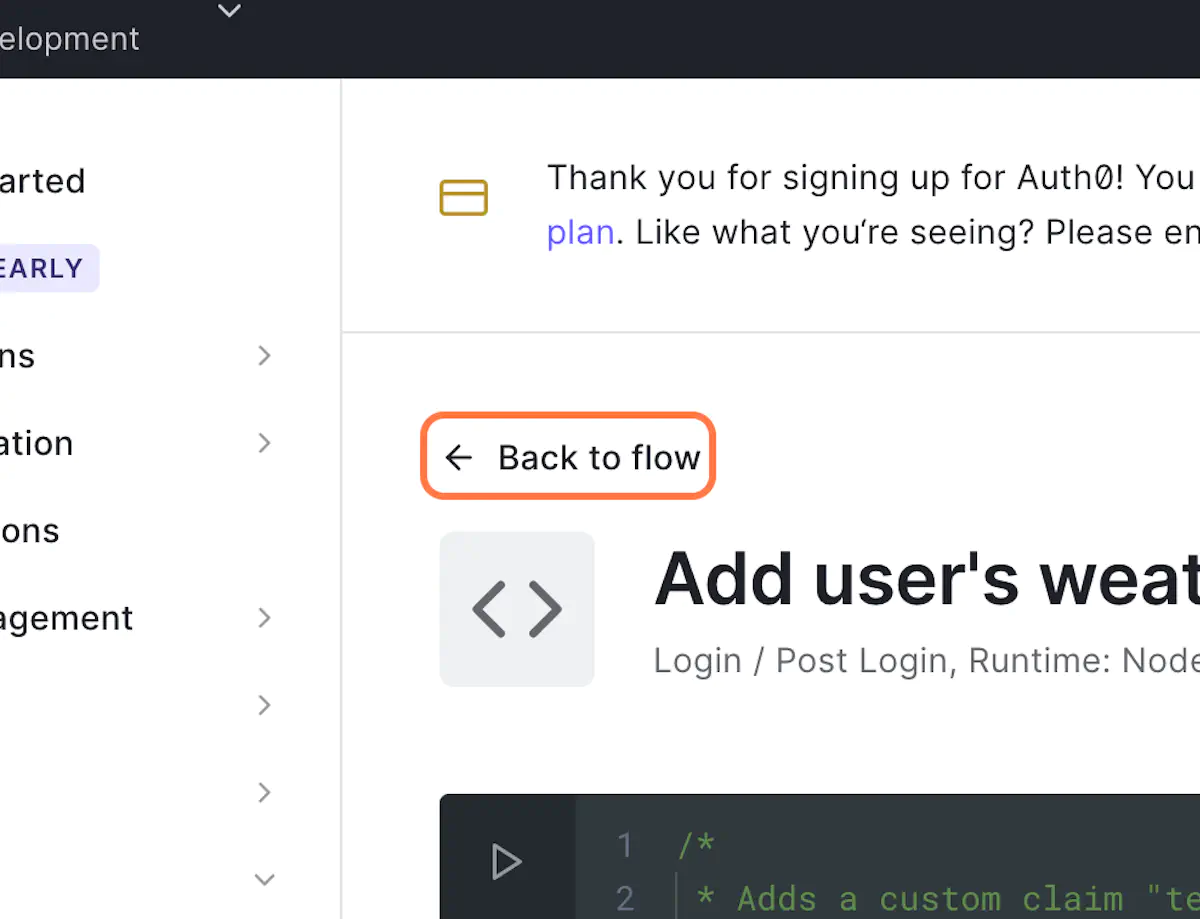
12. Click on Back to flow
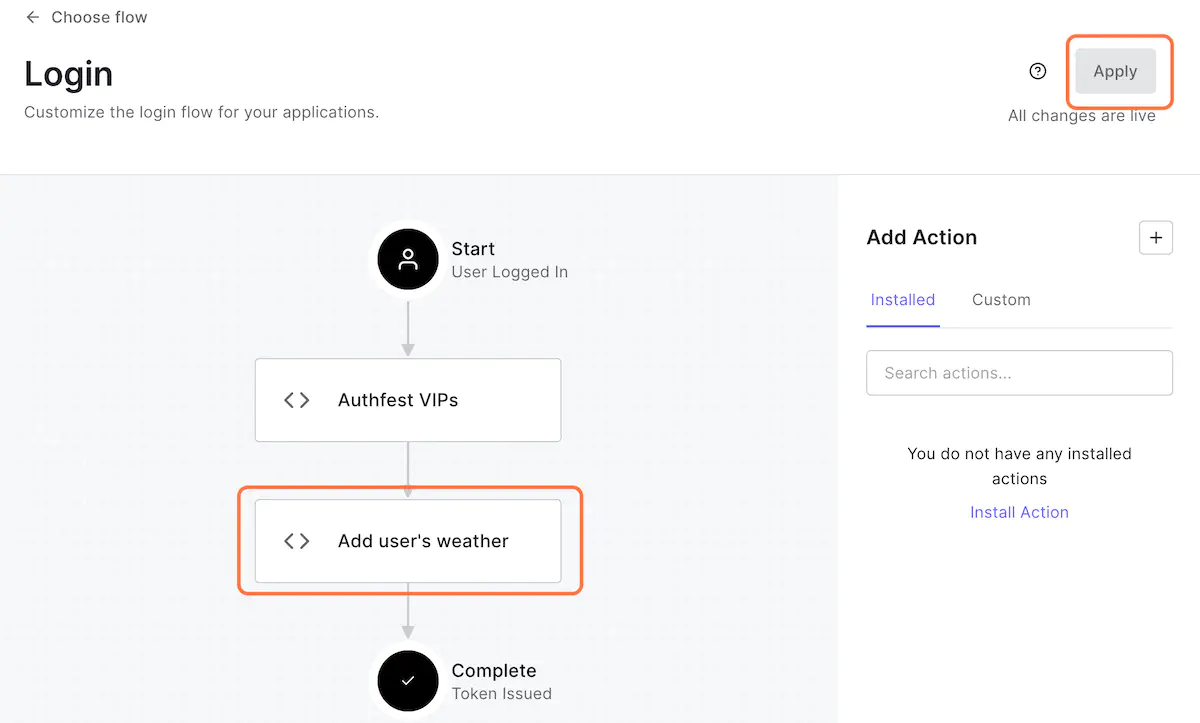
13. Click on Custom
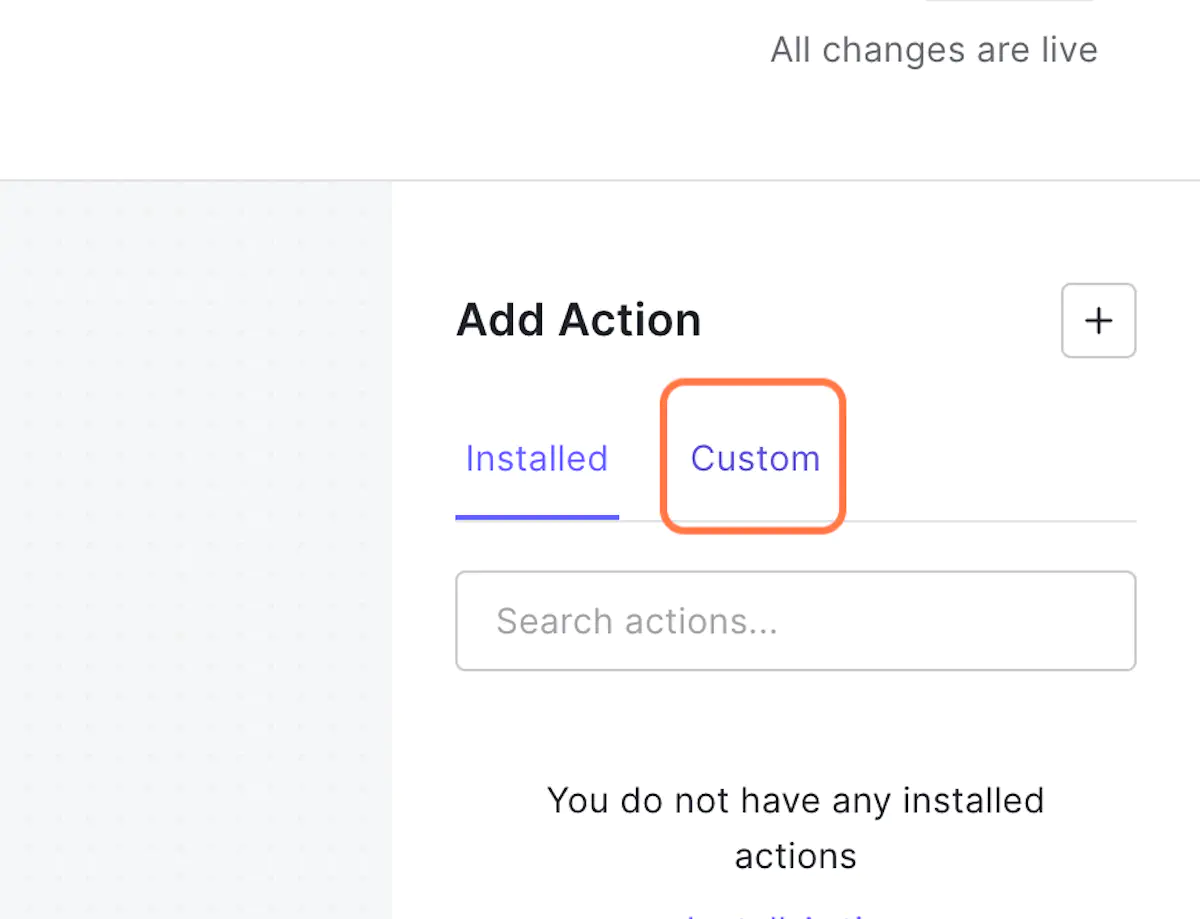
14. Drag and Drop your action
And click on Apply
15. Done!
This time we went even further - integrating an external dependency to make web requests and fetch additional data based on context we got from the users request. Any package available on the npm public network can be integrated this way, giving you full flexibility on building whatever logic you may need.
Now is the time to wrap-up… let test this!