1.3 Update Glitch App
In this task, we will integrate CIC with our Glitch Application.
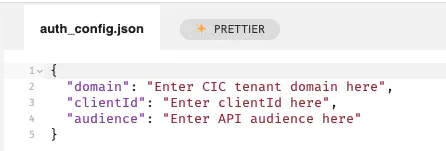
In Glitch, go to the source code page of your Glitch application and in the left menu panel under Files, click to modify the file auth_config.json.
Then:
- Set the
domainvalue to your CIC domain (the value that you got in the previous step) - Set the
clientIdvalue to your CIC application ID (the value that you got in the previous step) - Dont’t touch the
audiencefor now, we will do that later
The file should look like this:
{
  "domain": "placeholder-domain.eu.auth0.com",
  "clientId": "ThisIsAPlaceHolderClientId",
  "audience": "Enter API audience here"
}
NOTE: Glitch auto-saves so there is no save button.
That’s it! The CIC SPA SDK is already embedded into your application, so all that’s left to do is testing. All we had to do was put in some configuration. Please go to the next step to test your login.
(Optional): If you would like to learn more about the following topics in this task, please see the following: Add Login to your Single Page Application. You can also see the CIC SDK in action by navigating in your Glitch application to public -> js -> app.js. (The setup is done in line 47 and following)